

其他功能

本页列出了所有其他你可能觉得有用的可用功能。

全局前缀

要忽略通过 setGlobalPrefix() 设置的路由全局前缀,请使用 ignoreGlobalPrefix:

const document = SwaggerModule.createDocument(app, options, {
  ignoreGlobalPrefix: true,
});

全局参数

你可以使用 DocumentBuilder 为所有路由定义参数,如下所示:

const config = new DocumentBuilder()
  .addGlobalParameters({
    name: 'tenantId',
    in: 'header',
  })
  // other configurations
  .build();

全局响应

你可以使用 DocumentBuilder 为所有路由定义全局响应。这对于在应用程序的所有端点中设置一致的响应非常有用,例如 401 Unauthorized 或 500 Internal Server Error 等错误码。

const config = new DocumentBuilder()
  .addGlobalResponse({
    status: 500,
    description: 'Internal server error',
  })
  // other configurations
  .build();

多规范

SwaggerModule 提供了一种支持多规范的方式。换句话说,你可以在不同的端点上提供具有不同 UI 的不同文档。

要支持多规范,你的应用程序必须以模块化的方式编写。createDocument() 方法接受第三个参数 extraOptions,它是一个具有名为 include 的属性的对象。include 属性接受一个模块数组作为值。

你可以如下所示设置多规范支持:

import { NestFactory } from '@nestjs/core';
import { SwaggerModule, DocumentBuilder } from '@nestjs/swagger';
import { AppModule } from './app.module.js';
import { CatsModule } from './cats/cats.module.js';
import { DogsModule } from './dogs/dogs.module.js';

async function bootstrap() {
  const app = await NestFactory.create(AppModule);

  /**
   * createDocument(application, configurationOptions, extraOptions);
   *
   * createDocument method takes an optional 3rd argument "extraOptions"
   * which is an object with "include" property where you can pass an Array
   * of Modules that you want to include in that Swagger Specification
   * E.g: CatsModule and DogsModule will have two separate Swagger Specifications which
   * will be exposed on two different SwaggerUI with two different endpoints.
   */

  const options = new DocumentBuilder()
    .setTitle('Cats example')
    .setDescription('The cats API description')
    .setVersion('1.0')
    .addTag('cats')
    .build();

  const catDocumentFactory = () =>
    SwaggerModule.createDocument(app, options, {
      include: [CatsModule],
    });
  SwaggerModule.setup('api/cats', app, catDocumentFactory);

  const secondOptions = new DocumentBuilder()
    .setTitle('Dogs example')
    .setDescription('The dogs API description')
    .setVersion('1.0')
    .addTag('dogs')
    .build();

  const dogDocumentFactory = () =>
    SwaggerModule.createDocument(app, secondOptions, {
      include: [DogsModule],
    });
  SwaggerModule.setup('api/dogs', app, dogDocumentFactory);

  await app.listen(process.env.PORT ?? 3000);
}
await bootstrap();

现在你可以使用以下命令启动服务器:

$ npm run start

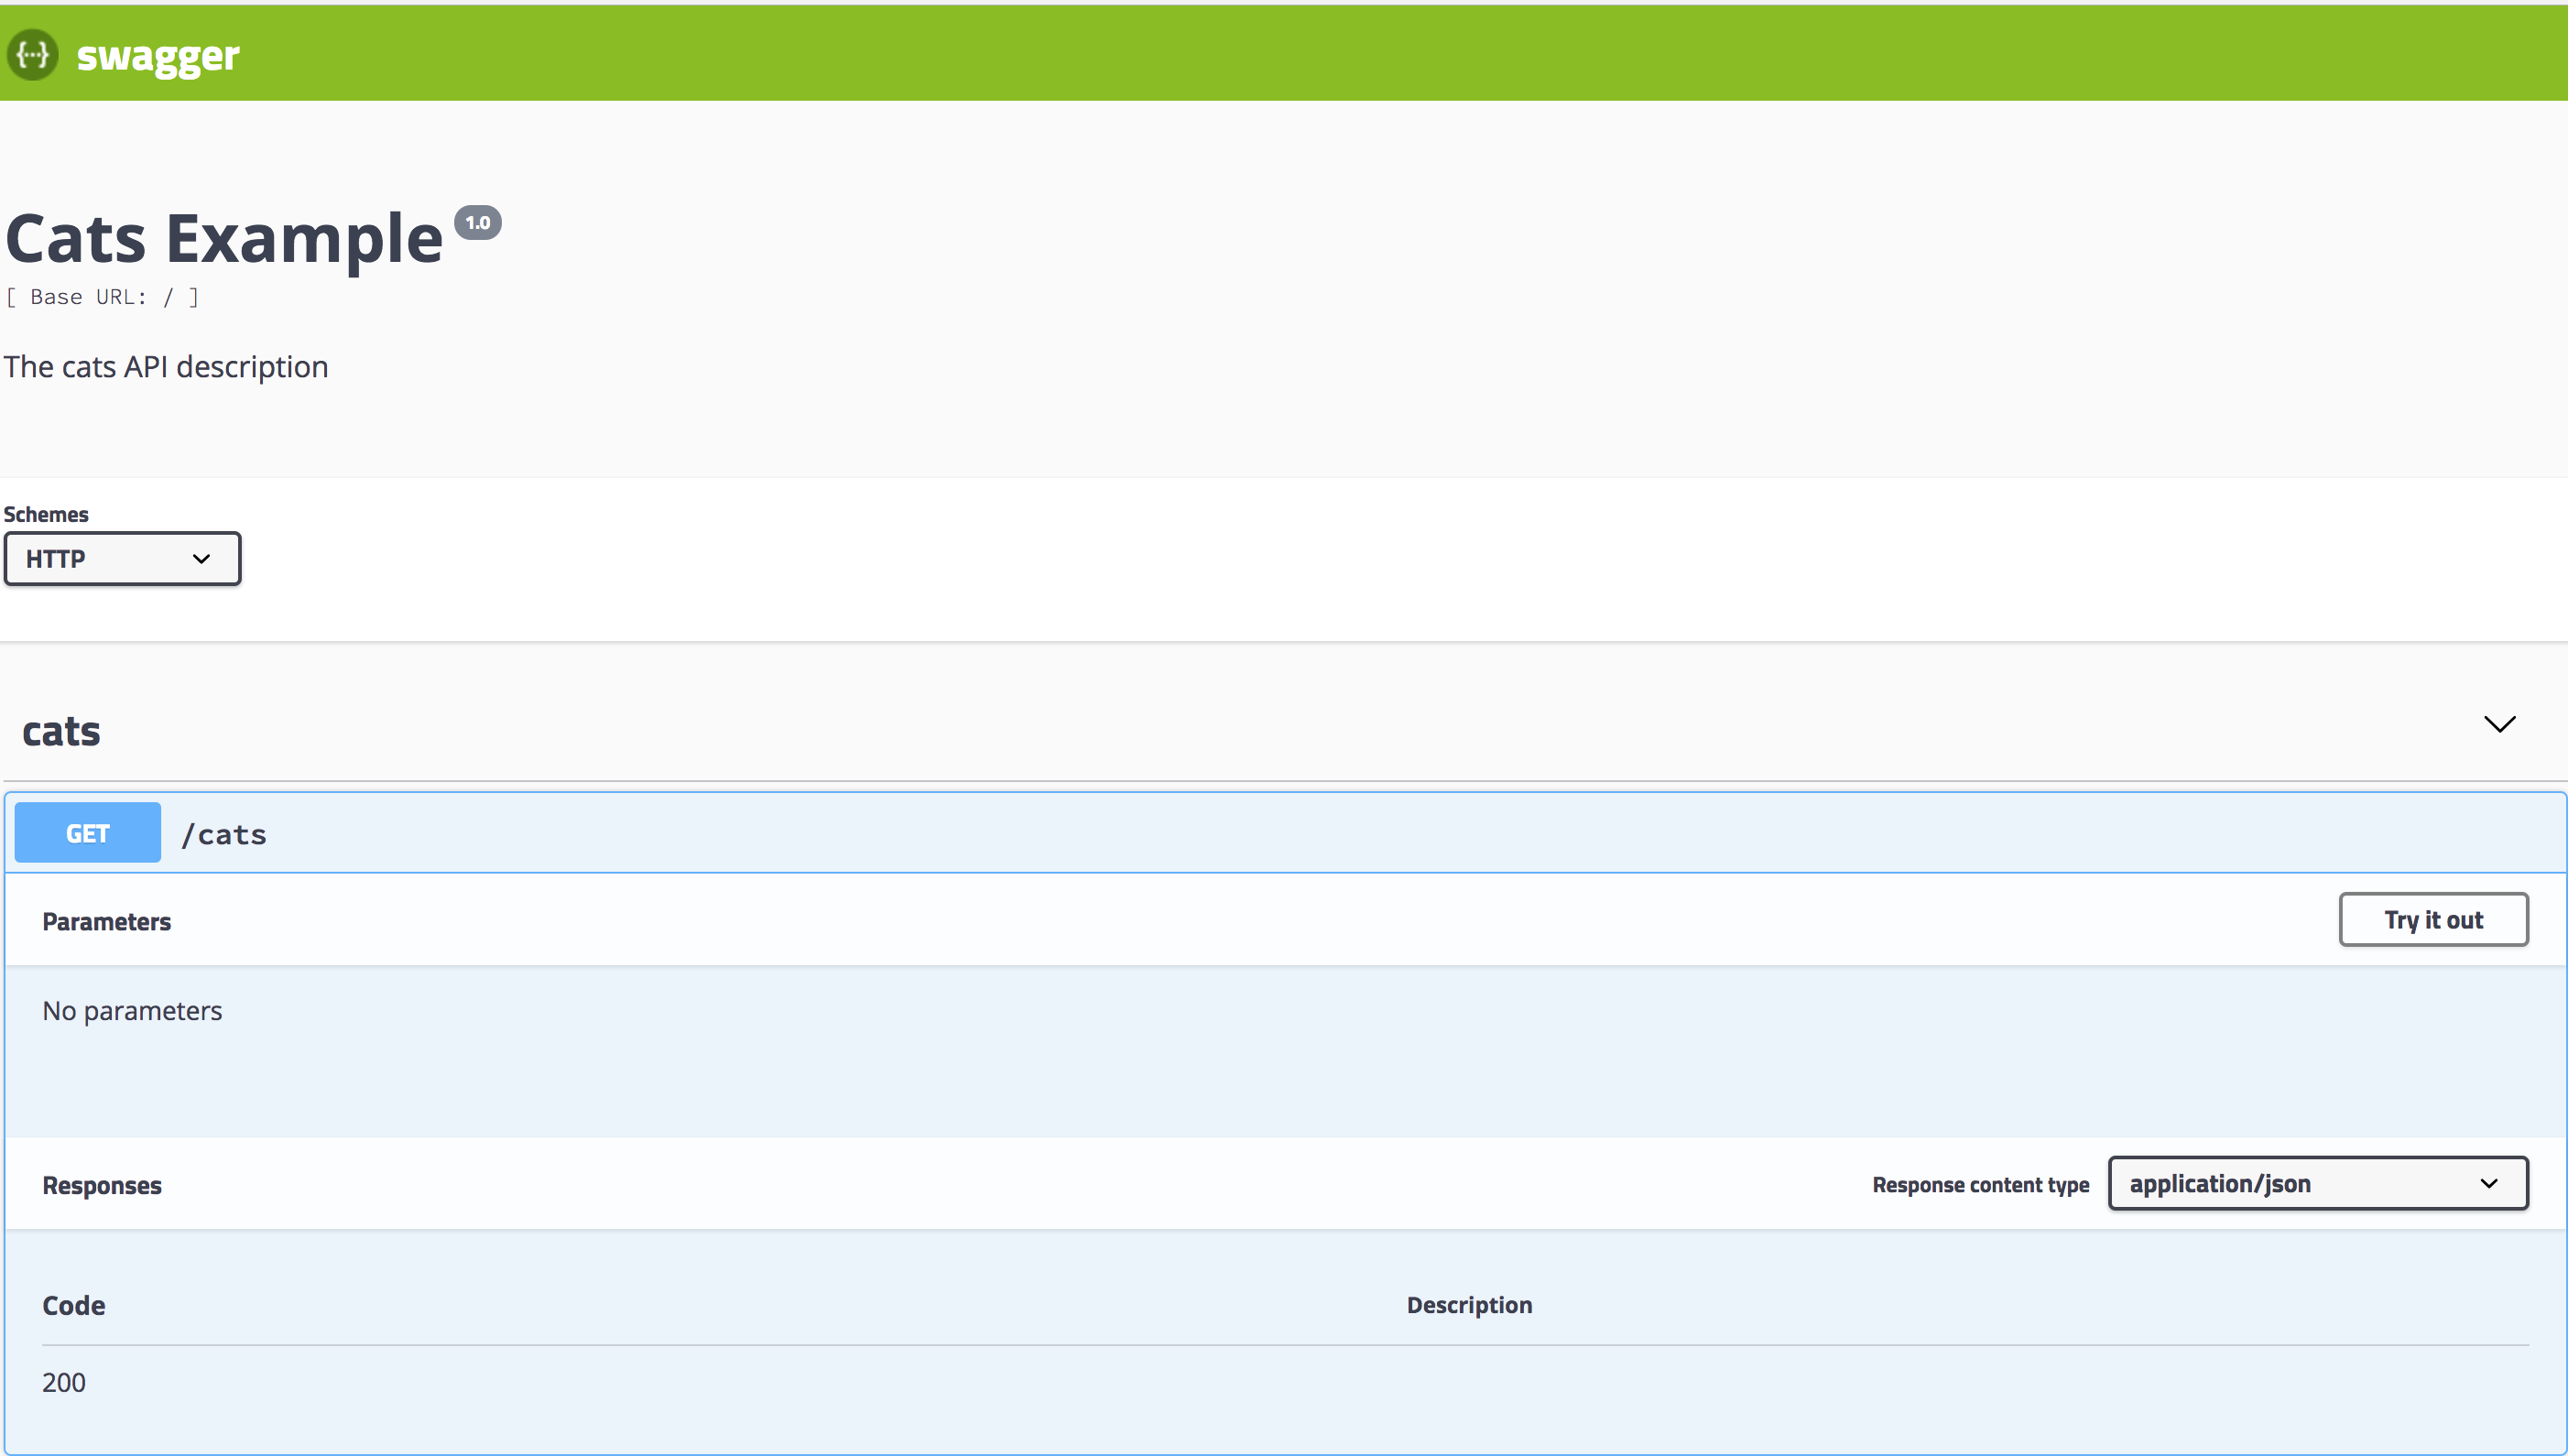
导航到 http://localhost:3000/api/cats 查看 cats 的 Swagger UI:
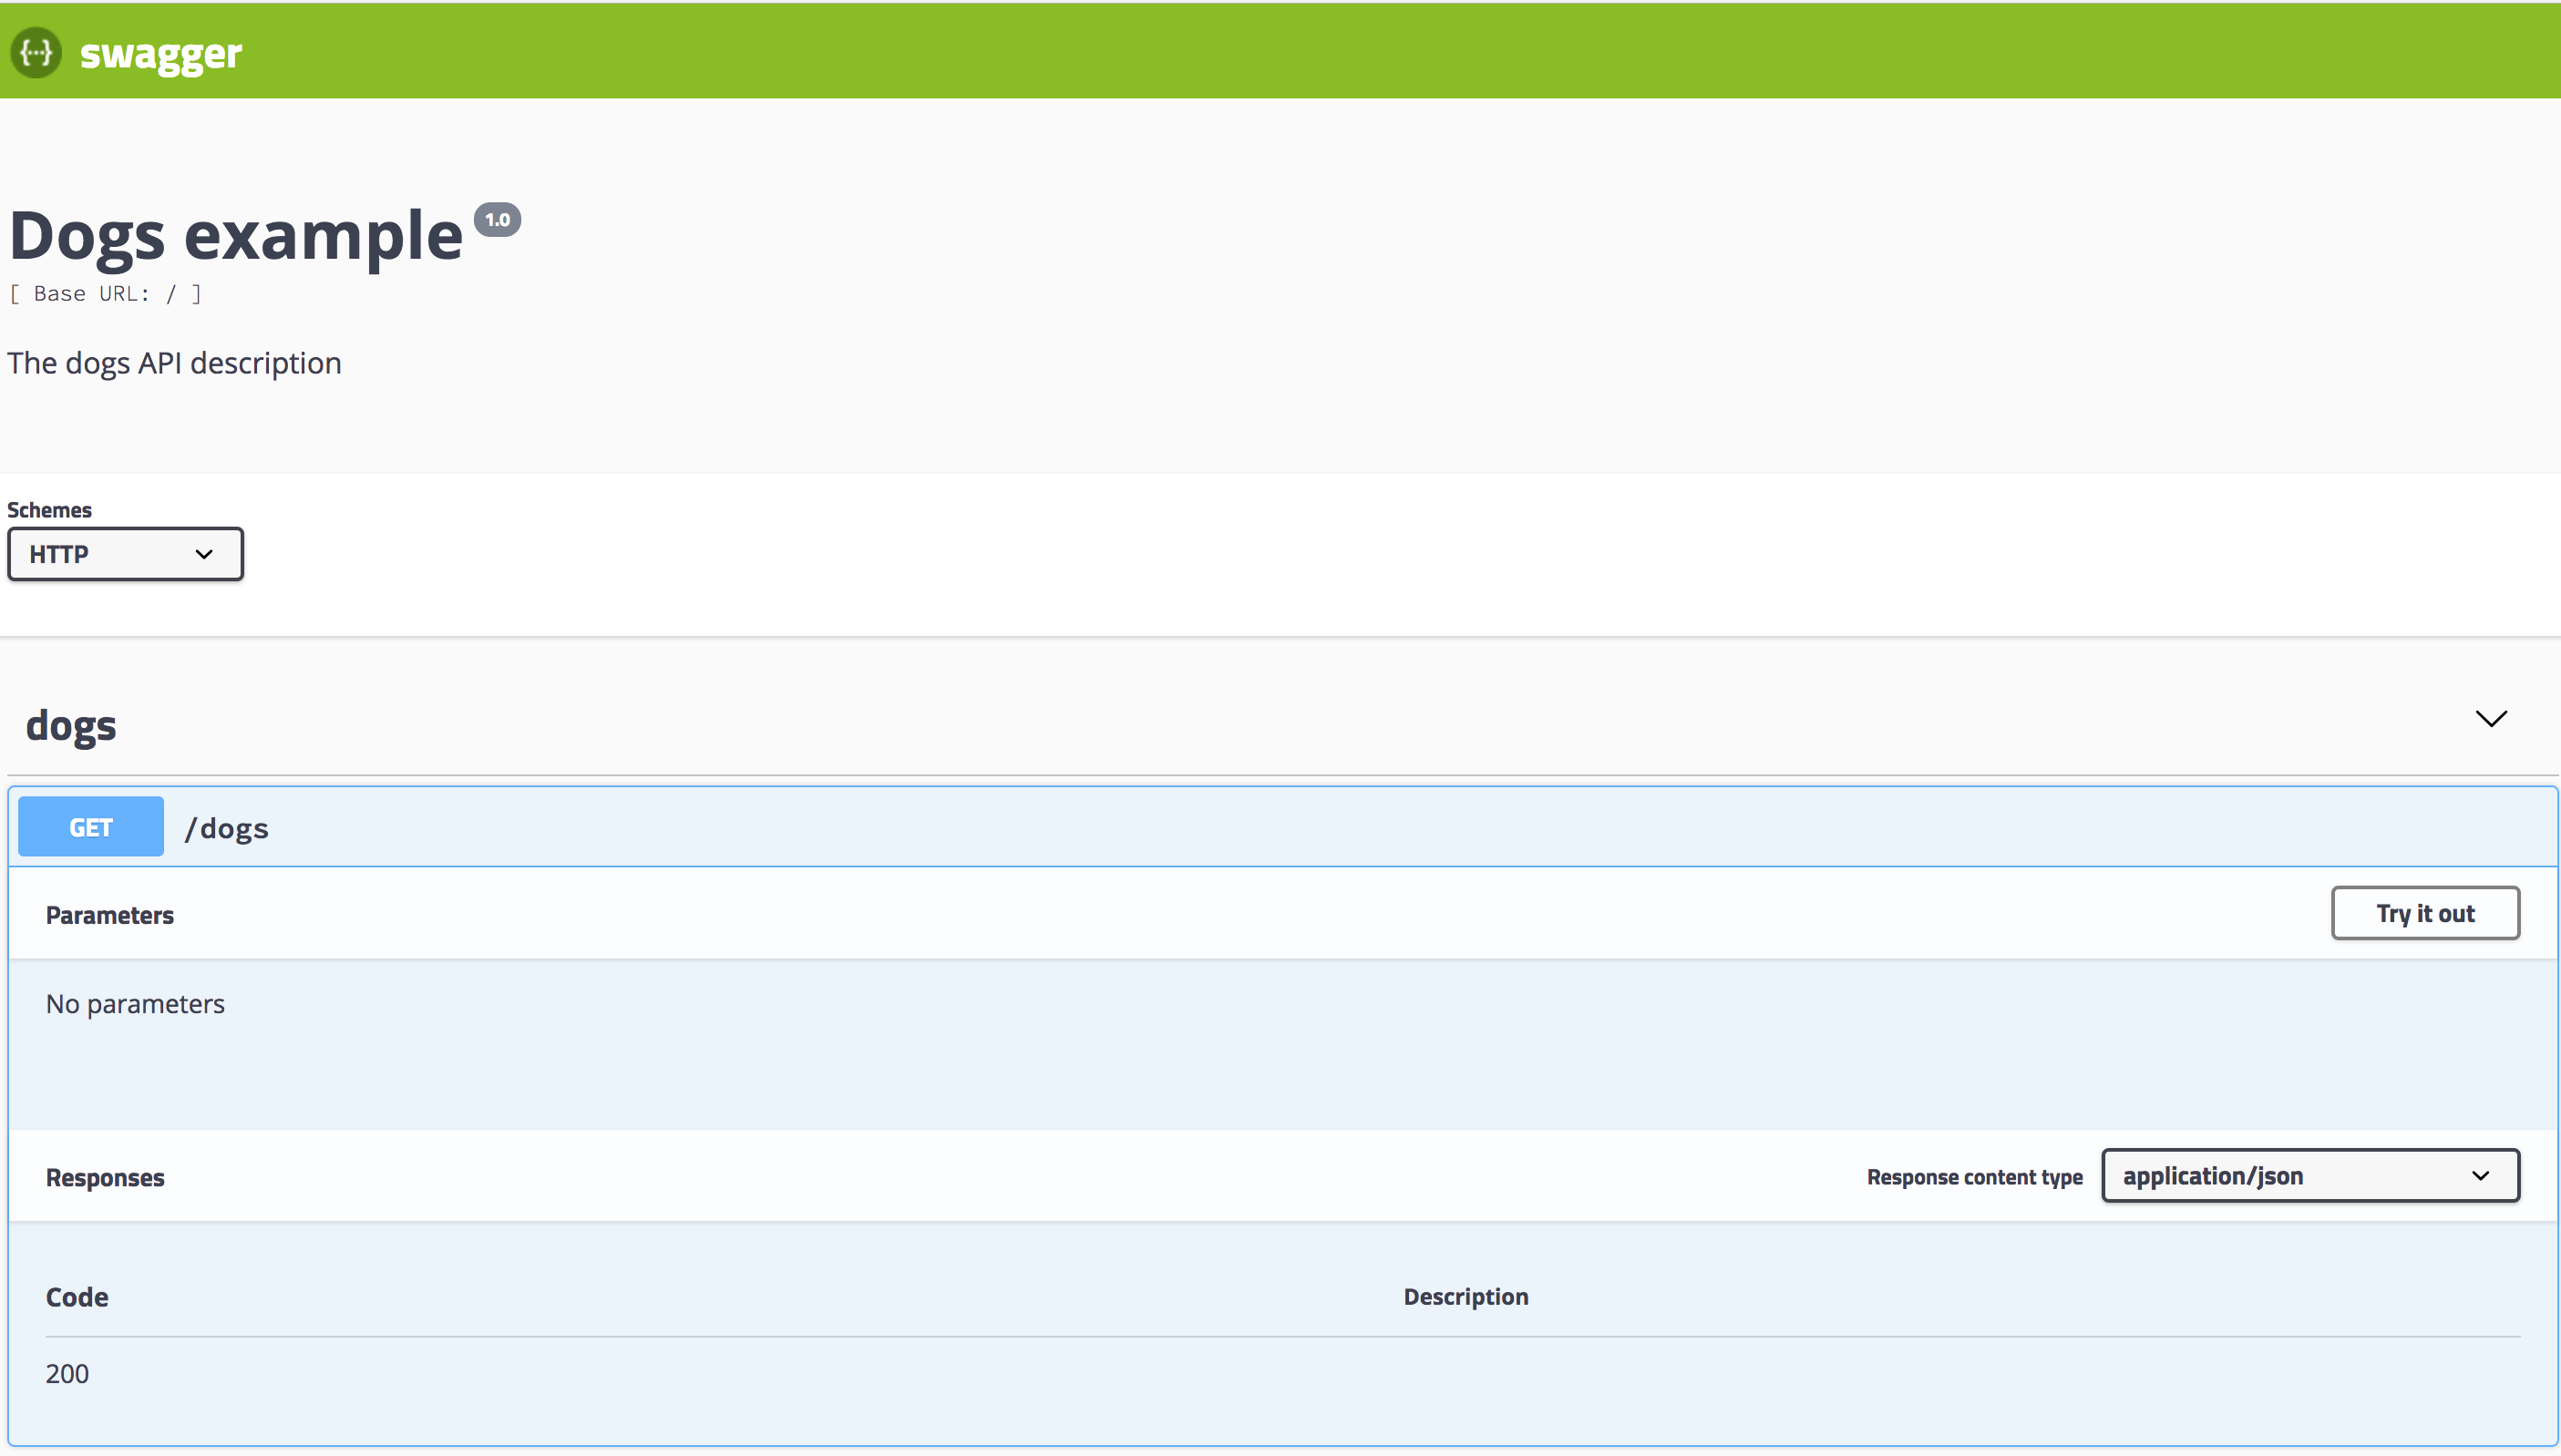
相应地,http://localhost:3000/api/dogs 将暴露 dogs 的 Swagger UI:
资源管理器栏中的下拉菜单

要在资源管理器栏的下拉菜单中启用多规范支持,你需要在 SwaggerCustomOptions 中设置 explorer: true 并配置 swaggerOptions.urls。

info 提示 确保 swaggerOptions.urls 指向你的 Swagger 文档的 JSON 格式!要指定 JSON 文档,请在 SwaggerCustomOptions 中使用 jsonDocumentUrl。有关更多设置选项,请查看 here。

以下是如何从资源管理器栏的下拉菜单中设置多规范:

import { NestFactory } from '@nestjs/core';
import { SwaggerModule, DocumentBuilder } from '@nestjs/swagger';
import { AppModule } from './app.module.js';
import { CatsModule } from './cats/cats.module.js';
import { DogsModule } from './dogs/dogs.module.js';

async function bootstrap() {
  const app = await NestFactory.create(AppModule);

  // Main API options
  const options = new DocumentBuilder()
    .setTitle('Multiple Specifications Example')
    .setDescription('Description for multiple specifications')
    .setVersion('1.0')
    .build();

  // 创建 main API document
  const document = SwaggerModule.createDocument(app, options);

  // 设置up main API Swagger UI with dropdown support
  SwaggerModule.setup('api', app, document, {
    explorer: true,
    swaggerOptions: {
      urls: [
        {
          name: '1. API',
          url: 'api/swagger.json',
        },
        {
          name: '2. Cats API',
          url: 'api/cats/swagger.json',
        },
        {
          name: '3. Dogs API',
          url: 'api/dogs/swagger.json',
        },
      ],
    },
    jsonDocumentUrl: '/api/swagger.json',
  });

  // Cats API options
  const catOptions = new DocumentBuilder()
    .setTitle('Cats Example')
    .setDescription('Description for the Cats API')
    .setVersion('1.0')
    .addTag('cats')
    .build();

  // 创建 Cats API document
  const catDocument = SwaggerModule.createDocument(app, catOptions, {
    include: [CatsModule],
  });

  // 设置up Cats API Swagger UI
  SwaggerModule.setup('api/cats', app, catDocument, {
    jsonDocumentUrl: '/api/cats/swagger.json',
  });

  // Dogs API options
  const dogOptions = new DocumentBuilder()
    .setTitle('Dogs Example')
    .setDescription('Description for the Dogs API')
    .setVersion('1.0')
    .addTag('dogs')
    .build();

  // 创建 Dogs API document
  const dogDocument = SwaggerModule.createDocument(app, dogOptions, {
    include: [DogsModule],
  });

  // 设置up Dogs API Swagger UI
  SwaggerModule.setup('api/dogs', app, dogDocument, {
    jsonDocumentUrl: '/api/dogs/swagger.json',
  });

  await app.listen(3000);
}

await bootstrap();

在此示例中,我们设置了一个主 API 以及 Cats 和 Dogs 的单独规范,每个都可以从资源管理器栏的下拉菜单中访问。